



Please note that this article is If you have an active web hosting package with us, your DNS is powered directly by your hosting server to ensure automatic SSL generation and stable email delivery. You can manage all your advanced records (A, CNAME, MX, TXT) seamlessly from your client portal.
In order for the DNS records you create in our DNS Manager to work, your nameservers must be set to ns1.brchost.ca and ns2.brchost.ca. Please see our knowledgebase article on how to update your nameservers.
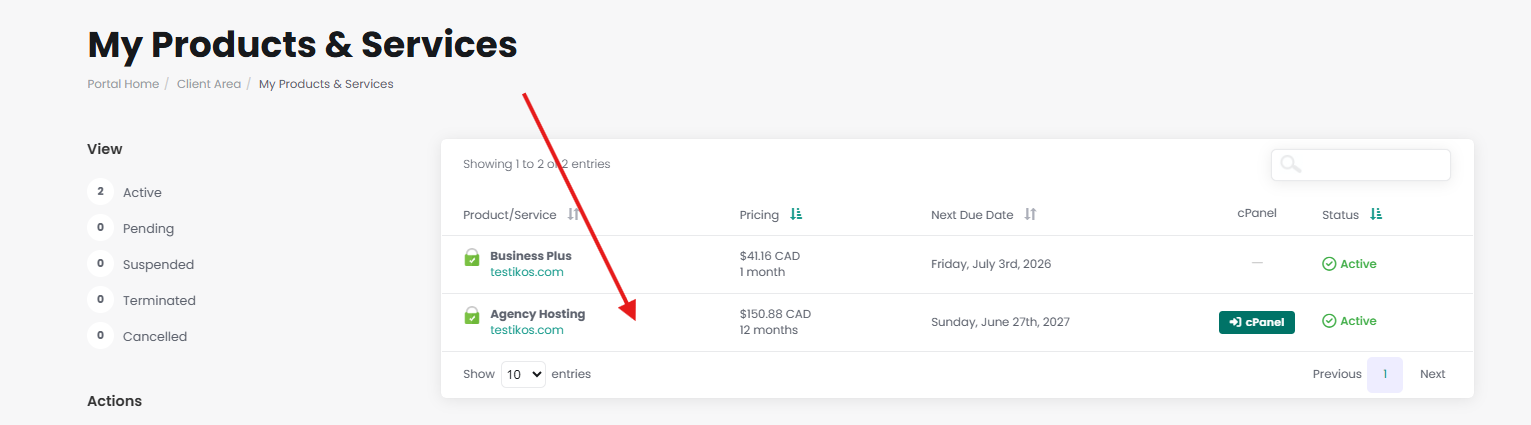
To access our DNS Manager, from the Client Area click on the "Services" link.

On the next page, Click anywhere on the row of the domain you wish to modify.
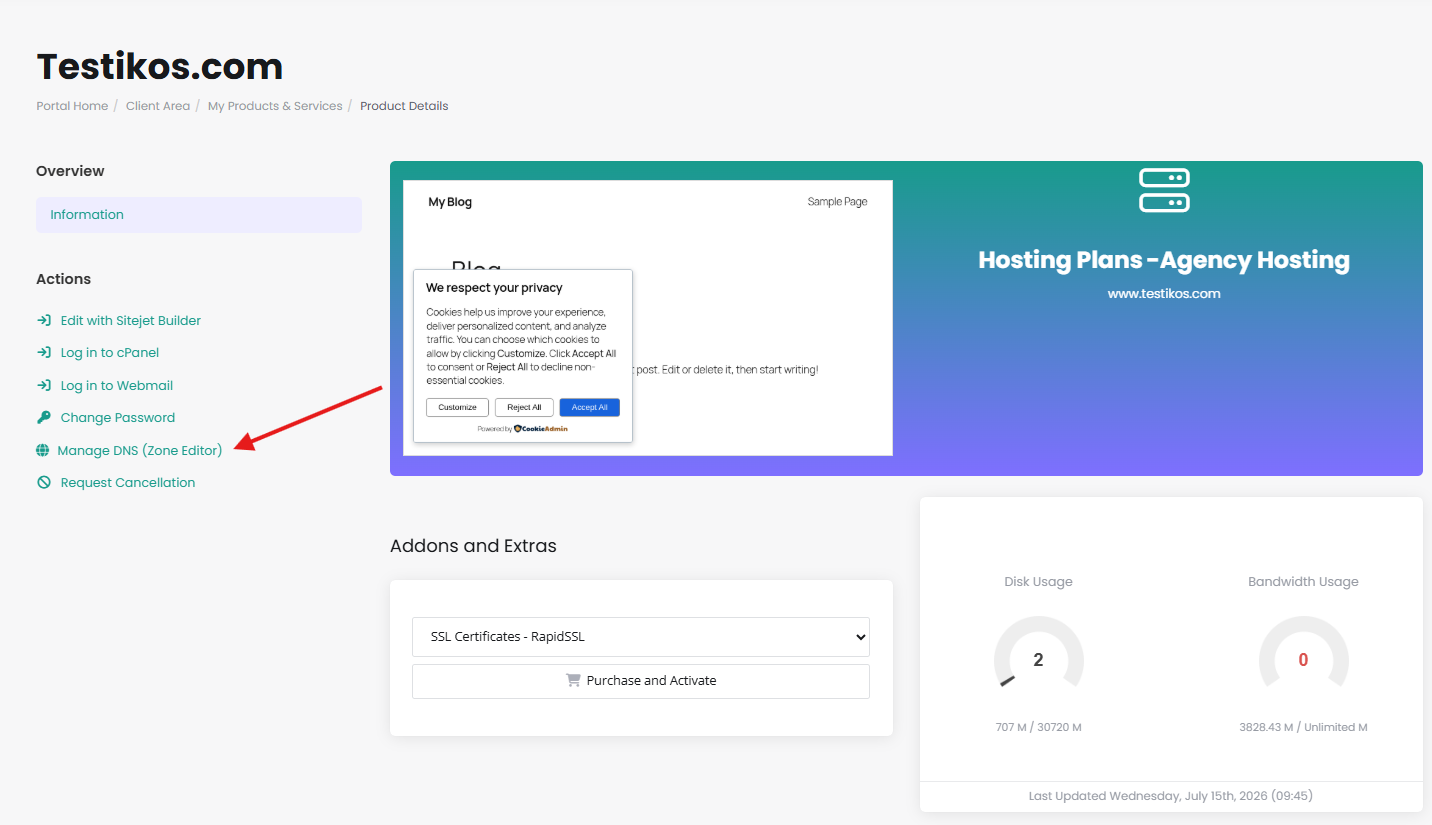
In the left-hand sidebar menu, click Manage DNS.
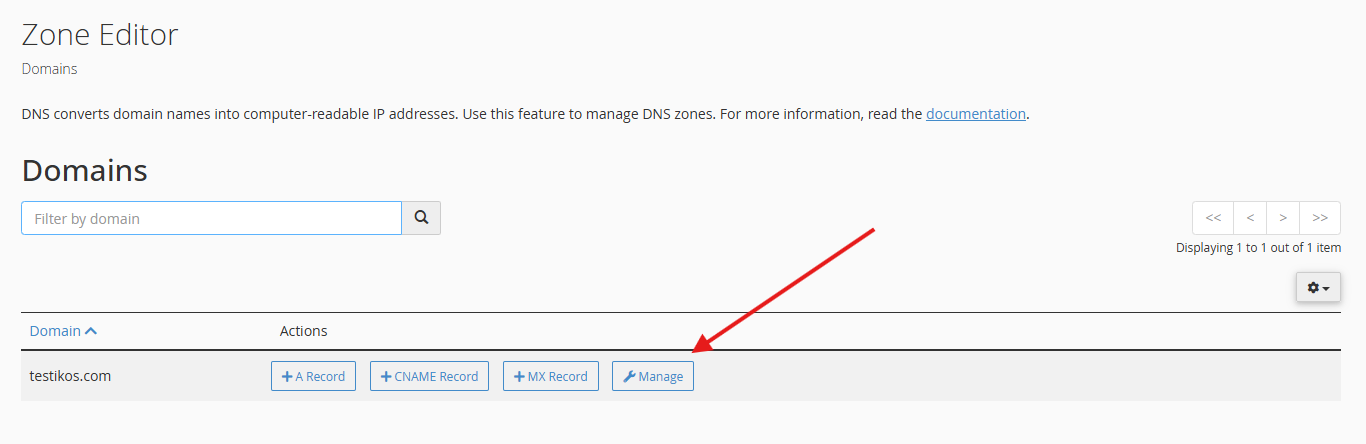
Inside the Zone Editor, click Manage then the + Add Record button to create a new entry, or click Edit next to any existing record.
Click Save Record when you are finished. Your DNS changes are pushed to the server instantly!
Note that you will be prompted to specify a default IP address for the DNS Zone when you add it. This IP address should be provided by your service provider. If you don't know what IP address to specify, you can specify our default IP address of 51.161.116.53. This can be changed later at any time.
Please open a support ticket if you need any further assistance